
Things To Do in Yosemite National Park in Winter
In this blog post, we will share what to pack, where to stay, and some of the top things to do during a winter trip to Yosemite National Park!
Table of Contents Show
We recently took a long weekend trip up to Yosemite National Park to enjoy the beauty of the park during winter. It was an incredible experience and we definitely recommend planning your own trip to visit Yosemite in winter too.
The only other time we had visited Yosemite (at the time) was in late November, and everything was dead and brown. Don’t get me wrong, it was still incredible (how could Yosemite be anything short of incredible?), but there is just something magical about Yosemite covered in snow.
While visiting Yosemite during winter is undeniably beautiful, it does mean that there will be some extra precautions to take and planning to do before your trip. You’ll need to make sure to dress appropriately and bring the correct gear for winter, and know which trails are open during winter and what activities you can safely do during this time of year. But it is all so worth it.
This post contains affiliate links, which means that if you make a purchase through one of these links we will receive a small commission at no extra cost to you, helping to fund our future travels. For more information, read our Disclosures page.
Along with this blog post, we also created a video of our entire trip to Yosemite. Watch it to see the things to do in Yosemite in winter that are mentioned in this post. If you enjoy the video, make sure to give it a “thumbs up” on YouTube and consider subscribing to our channel! We would greatly appreciate it.

What to pack for a trip to Yosemite in the winter
It’s all about the layers, baby! At least during our visit, the mornings and evenings were bitter cold with the midday sun causing us to get toasty while we hiked. With layers, you can easily remove and add as needed to moderate your temperature.
Waterproof hiking boots. You definitely need to have actual hiking boots here, sneakers just aren’t good enough and can be dangerous to hike in. We have the Oboz Bridger hiking boots.
Thick socks that will keep your feet warm! We have big thick ones with wool like these.
Gloves, preferably waterproof. We brought 2 pairs of gloves for this trip: 1 pair that was thinner that we used on hikes and a thicker pair for at night while sitting and waiting to see the Firefall.
Warm hat to keep your head warm. We also brought these thick neck scarves to use at night.
Base layers to keep you warm. I have these merino wool pants and this moisture wicking shirt.
A warm coat, such as a down jacket. Ours are from Uniqlo, but these down jackets from Amazon are very similar. They pack up very small which is great if you want to remove them on hikes.
Waterproof outer layers. We brought our waterproof jackets from The North Face (Mens and Womens) and our waterproof rain pants from Helly Hansen for our outer shell, but didn’t end up needing to use them. But if you visit when it’s snowing or raining you will be glad to have them!
Hiking poles. They were a game-changer for hiking in the snow! Our first hike we didn’t use them and we were slipping around a ton. The next hike we did use them and they helped us get our footing and remain stable more than we would have imagined. Especially important when you’re hiking on the side of a steep drop-off. We have the Black Diamond Trail Trekking Poles.
Daypack to carry your things. It’s key on a full day of hiking to have a comfortable pack you can carry snacks, water, and your extra layers in (and your extra camera gear if you’re like us!). We have the Osprey Daylite Plus and the Osprey 2.5L Hydraulics Reservoir water bladder.
You can see our full list of travel and camera gear on the Gear page.
The product links above are Amazon affiliate links. If you make a purchase through one of the links we will receive a small commission at no extra cost to you, helping to fund further adventures. Thank you!

Where to stay near Yosemite National Park in the winter
Hotels
If you’re looking to stay warm, cozy, and comfortable and you don’t mind going out for your meals and possibly paying a bit more, then a hotel is a great option for your winter trip to Yosemite. We haven’t personally stayed in a hotel during a trip to Yosemite yet but we did some research and these are some of the top recommended hotel options in the area.

If you can swing the cost and book far enough in advance, The Ahwahnee hotel (shown here) in particular would be my top choice.
This historic 4-star hotel dates back to 1927 and is located on the valley floor of Yosemite, with stunning views of Half Dome, Glacier Point, and Yosemite Falls. And it is only 1.5 miles from the Yosemite Village!
Luxury: The Ahwahnee, Tenaya Lodge
Budget: Best Western Yosemite Gateway Inn, Yosemite View Lodge, Red Bud Lodge
These are affiliate links with Hotels.com, meaning that if you book a hotel through these links we will receive a small commission at no extra cost to you – helping to fund our future travels. Thank you!
Camping
Winter camping is definitely an option if you do your research and have the proper equipment to do so. There are campgrounds in Yosemite that stay open during winter and we saw plenty of guests, both in RVs and tent camping in the park. Peter and I would love to try winter camping someday, but haven’t taken the leap quite yet.
If you’re prepared to do winter camping, there are four campgrounds that remain open in Yosemite during winter. Two of them are in the Yosemite Valley – Upper Pines and Camp 4. The other two are Hodgdon Meadow, which is 45 minutes northwest of Yosemite Valley, and Wawona, located 45 minutes south of Yosemite Valley.
Airbnb
For our winter visit to Yosemite National Park, we actually stayed in an Airbnb just 30 minutes outside of the park in the small town of Mariposa. And that’s exactly what we did for our last visit to Yosemite too! Airbnb’s are perfect if you are looking to stay somewhere comfortable, if you’re traveling with a group, and if you’d like to cook your own meals to save some money. Oftentimes you can find Airbnbs that are cheaper than hotels too.
Use our link to get up to $65 off your stay through Airbnb, and we will also receive Airbnb credit to use on our future bookings. It’s a win-win!
Things to do in Yosemite National Park in winter

Tunnel View
If you’ve ever seen pictures of Yosemite, chances are you have seen a picture of the famous Tunnel View. It is one of the most popular destinations in Yosemite National Park and considered a must-do for any first time visitor to the park.
Seeing the famous Tunnel View of Yosemite Valley requires zero hiking. Just park, get out of your car, and BAM there it is. Tunnel View is located just outside the Wawona Tunnel on State Highway 41, where there is a large parking area beside the viewpoint.

It will probably be busy even in winter
One perk about visiting Yosemite during winter? The park is less busy in the winter than during any other season, which means even the usually over-crowded Tunnel View will be a bit more peaceful. Even so, there is certainly going to be more people here than anywhere else on this list simply because of how iconic it is and how accessible it is.
If you’re looking for almost the exact same view as Tunnel View with no crowds, consider doing the hike to Inspiration Point.

Inspiration Point
Distance: 2.6 miles
Elevation Gain: 990 feet
Hiking Time: 1-2 hours
If you’re looking for a similar view as Tunnel View without the crowds, than this is the hike for you. It is a somewhat short hike, but it is a steady uphill trail that is sure to get your heart rate up.
The hike to Inspiration Point begins off of the Tunnel View parking lot (see the picture of the sign marking the trailhead below). So it is perfect to park, get a look at the iconic Tunnel View, and then head to this hike for a more secluded view.
The trail to Inspiration Point is open year-round and totally doable during the winter season. There was snow on most of the trail but the trail was easily visible from other hikers packing it down. During our visit, the snow was a bit melty and thus a bit slippery on the inclines and declines. Hiking poles would have definitely made things a bit easier and I would recommend taking them.
Less crowds, but more trees
We also did this hike during our last trip to Yosemite a few years ago, and it seems like the trees have grown up a bit since then which somewhat blocks the lower portion of the view of Yosemite Valley. However, since the ground was covered in snow I must admit we might not have been in the exact same spot of the overlook as we were last time. *There are no signs marking the overlook for either Inspiration Point or Artist Point, but the trail sort of ends and there is a beautiful viewpoint so you know you’ve made it.
But any trees slightly creeping into your view are still better than the crowds at Tunnel View, am I right? You can take a look at our view in the pictures below.
Read more details about this hike on YosemiteHikes.


Alternative: Artist Point
From the same trailhead off of the Tunnel View parking area, you can also do the shorter hike to Artist Point as I mentioned in our Yosemite in Winter video. The hike to Artist Point is 2 miles round trip with only 500 feet in elevation gain. Here is more information about the hike on YosemiteHikes.
We were initially just going to go to Artist Point, but we ended up going up to Inspiration Point since it wasn’t much further.

Bridalveil Fall
Distance: 0.5 miles round trip
Hiking Time: about 20 minutes
A short, paved path that leads you up to the foot of Bridalveil Fall. The trail is easily accessed from the Bridalveil Fall Parking Area. There is a slight grade to the paved path due to a 80 ft elevation gain.
Another one of those “top things to do in Yosemite” that is known to be quite popular and oftentimes busy. But again, winter season busy is way less crazy than summer season busy! If you’re looking to avoid crowds as much as possibly though, it is recommended to visit Bridalveil Fall early in the morning and avoid the peak times of midday.
Unfortunately, we haven’t actually done this short trail ourselves yet but it is on the to-do list. During our recent visit to Yosemite in winter, the trail was closed due to construction. The photo above looking down on Bridalveil Fall was taken on our hike descending from Inspiration Point.
Read more details about Bridalveil Fall on the Yosemite NPS site.


Mist Trail
Distance: 3 miles round trip to Vernal Fall, 7 miles round trip to Nevada Fall.
Elevation Gain: 1,000 feet to top of Vernal Fall; 1,900 feet to top of Nevada Fall
Hiking Time: 2 - 5 hours, depending on how far you go. *They suggest starting early especially on a weekend because it is one of the most popular hikes. Moderate difficulty.
To get to the trailhead, park at Curry Village and walk to the trailhead from there (which adds an extra 1.5 miles round trip). Alternatively, you can take a shuttle bus, but make sure to check the shuttle schedule before your trip to see if its running.
The Mist Trail is open year-round but there are parts of the trail that are closed for winter, such as near the falls where it could be icy. In fact, there is a specific “winter route” outlined on the NPS website: Vernal and Nevada Fall Winter Route.
We didn’t get to hike this trail in winter during our recent visit, but we did hike it during our past visit to Yosemite National Park (as seen in the photos above). You can read more about our experience hiking all the way to Nevada Fall in the Yosemite Weekend Trip blog post. Honestly, I think it is my favorite hike that we have done in Yosemite so far and I would love to experience it in winter. The views of the waterfalls are stunning and make the long hike totally worth it!
Read more details about the Mist Trail on the Yosemite NPS site.

Lower Yosemite Fall Trail
Distance: 1 mile loop
Hiking Time: 30 minutes
A short, easy paved loop trail with great views of the Lower Falls. Like Tunnel View, expect this area to be crowded! This is another one of the most popular and easiest things to do in Yosemite, which makes it all the more busy. It’s still definitely worth going though, especially for a first time visitor. Yosemite Falls is iconic of Yosemite National Park and
Leaving the trail to get closer to the falls
If you look closely in the picture above, you can see the tiny shapes of people sitting along the rocks up to the lower falls. I’m not sure what is and isn’t “allowed” when it comes to this, but both times we visited there have been a ton of people that leave the paved loop trail to climb the rocks and get closer to the falls. In fact, we also did this during our first visit to Yosemite.
It was fun scrambling over the rocks to get closer to the falls, feeling the mist on your face and getting a better view. However, we were NOT interested in doing this during our winter trip to Yosemite. For one thing, the water was icy cold. But more importantly, in winter there is the danger of the misted rocks becoming icy and dangerous. Not worth the risk in winter, in our opinion. We did walk down to the river to sit on the rocks and dip our hands in the water though (#confirmed, the water is cold).
Read more details about the Lower Yosemite Falls on the Yosemite NPS site.
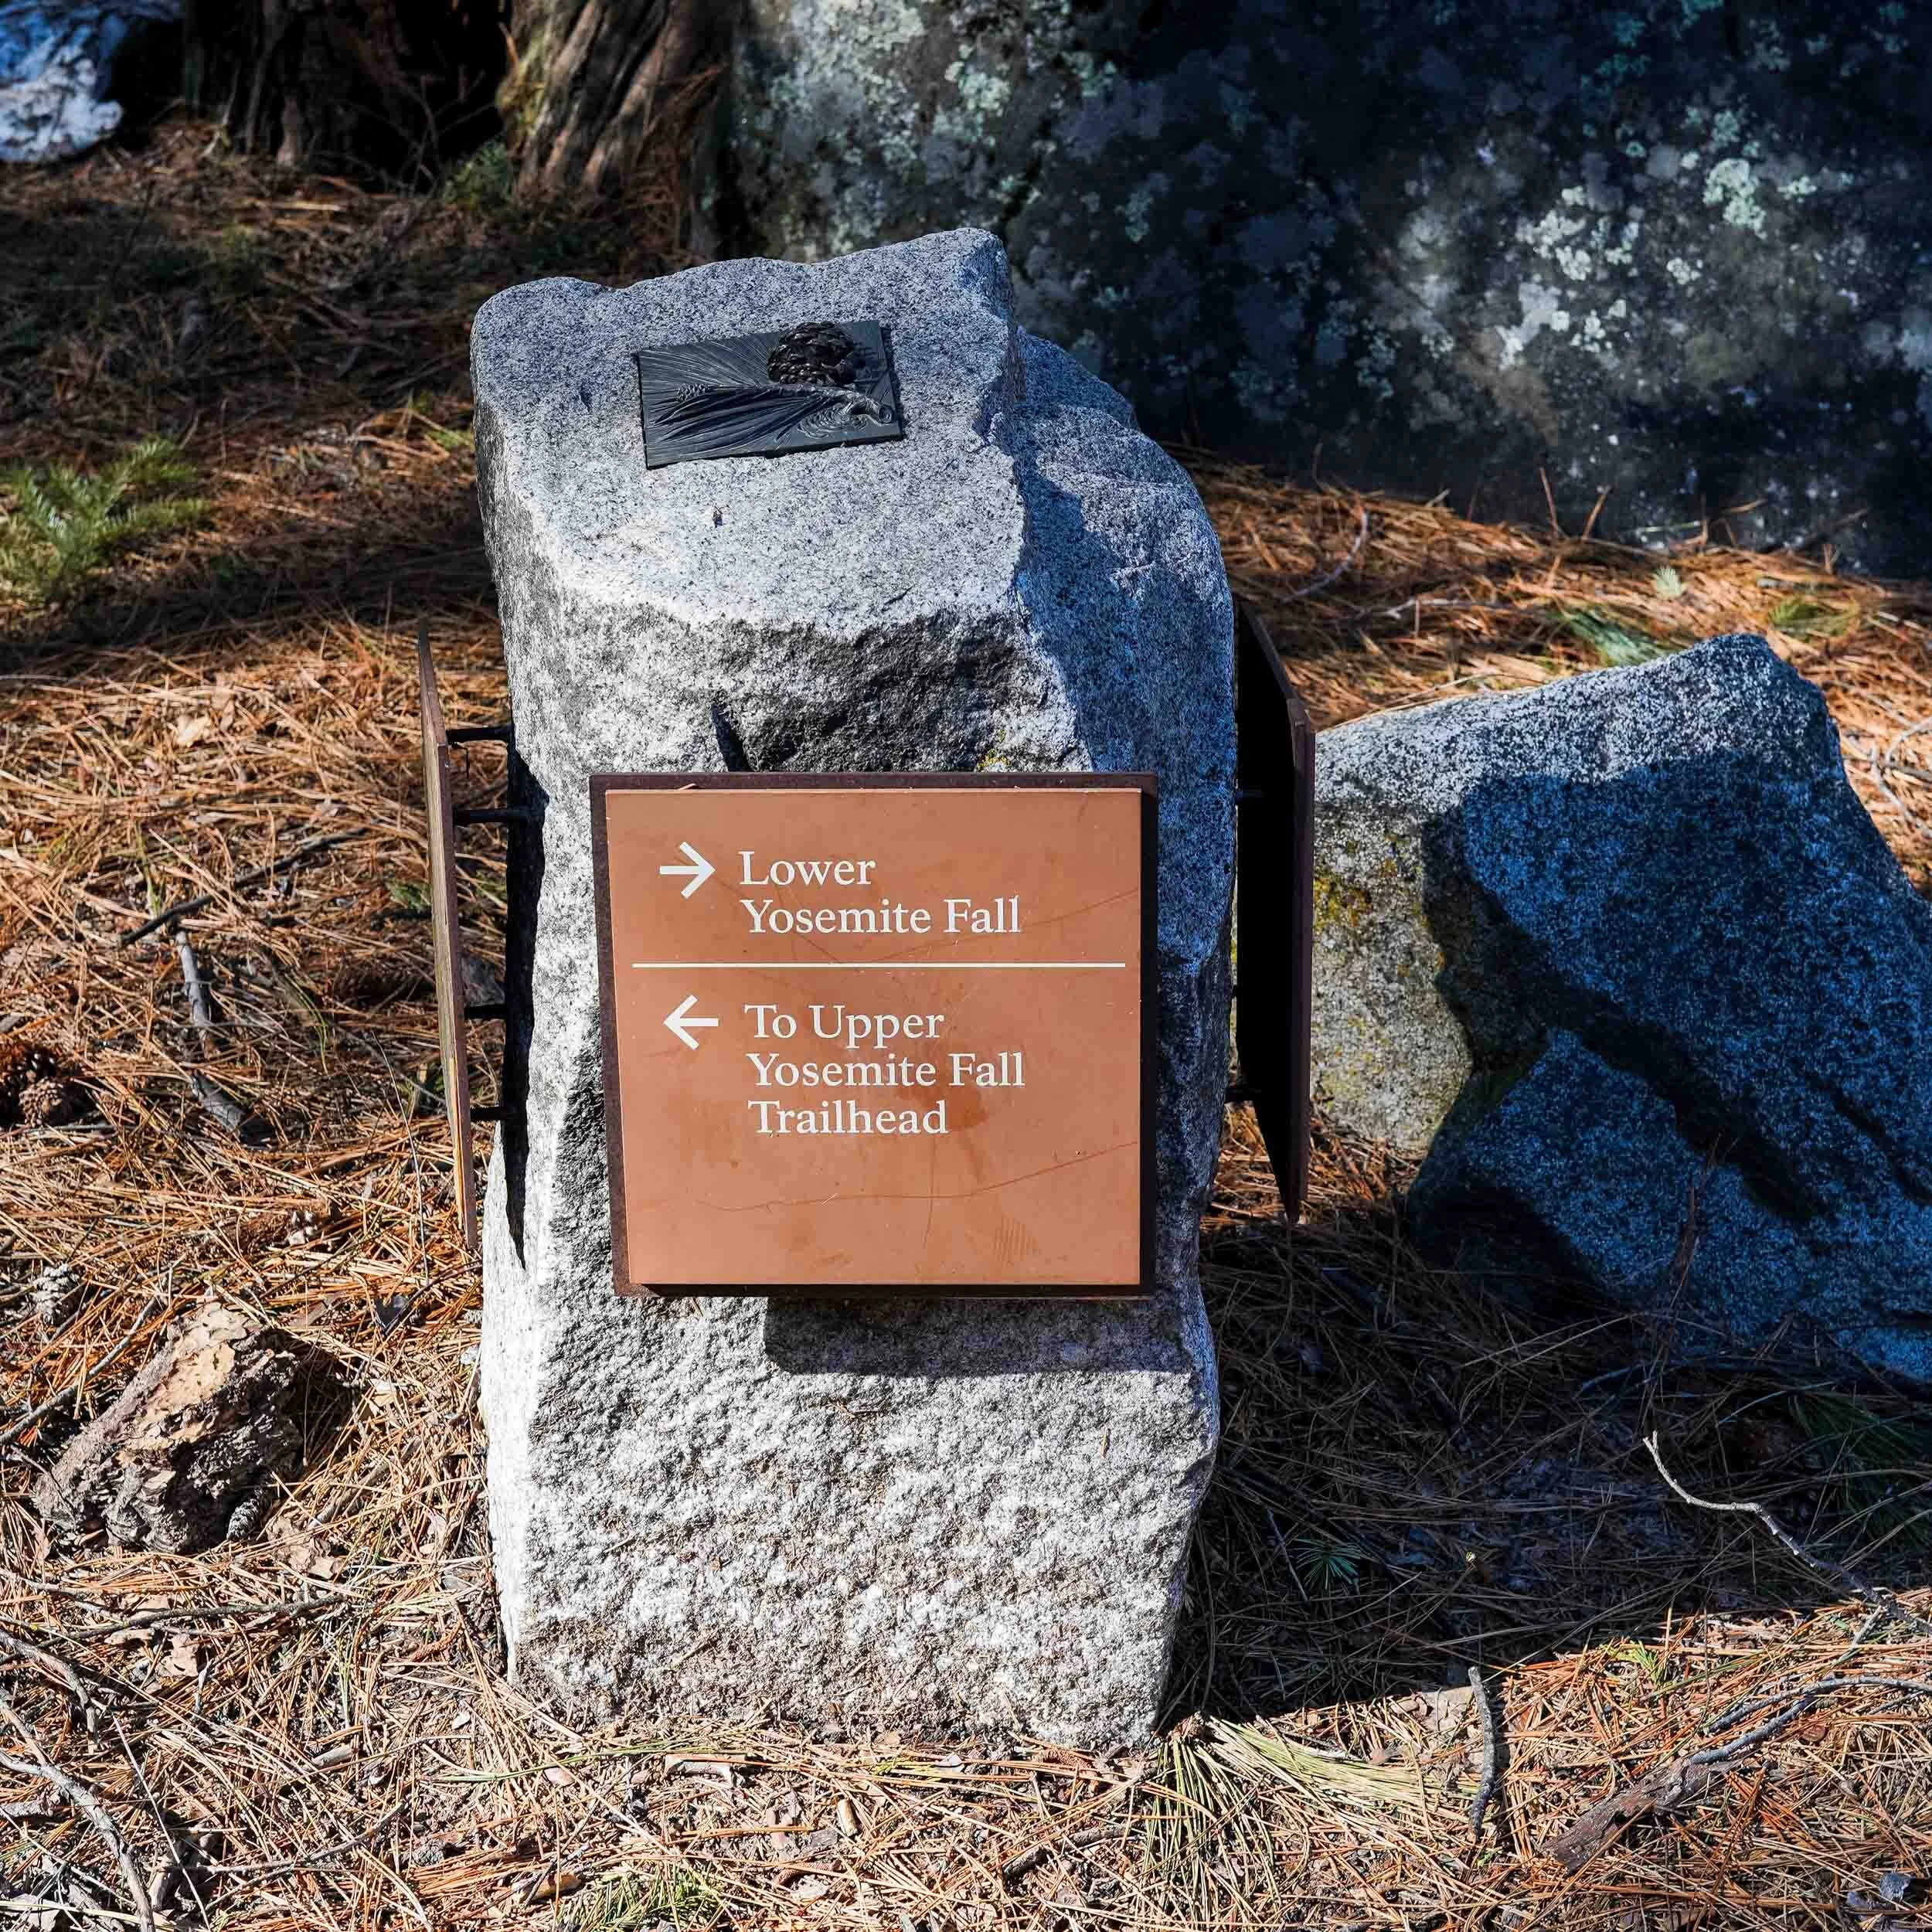


Upper Yosemite Falls Trail
Distance: 2 miles round trip to Columbia Rock, 7.2 miles round trip to the top of Yosemite Falls
Hiking Time: 2-3 hours round trip to Columbia Rock, 6-8 hours round trip to the top of Yosemite Falls
Elevation Gain: 1,000 feet to Columbia Rock, 2,700 feet to the top of Yosemite Falls
The hike to Upper Yosemite Falls starts at the Camp 4 area. This is one of Yosemite's most historic trails, built 1873 to 1877. The trail leads to the top of North America’s tallest waterfall, Yosemite Falls, which stands 2,425 feet above the Valley. This hike is considered strenuous due to the elevation gain and many switchbacks near the end of the hike to ascend to the top of the falls.


Be prepared for ice and snow
The top of the trail to Upper Yosemite Falls can be icy during winter depending on conditions and the time of day. Apparently, a gate just past Oh My Gosh Point can be closed in bad conditions and even if it is open there is likelihood of snow at the top of the trail. So come ready with the proper gear and be prepared to turn around if conditions are too icy.
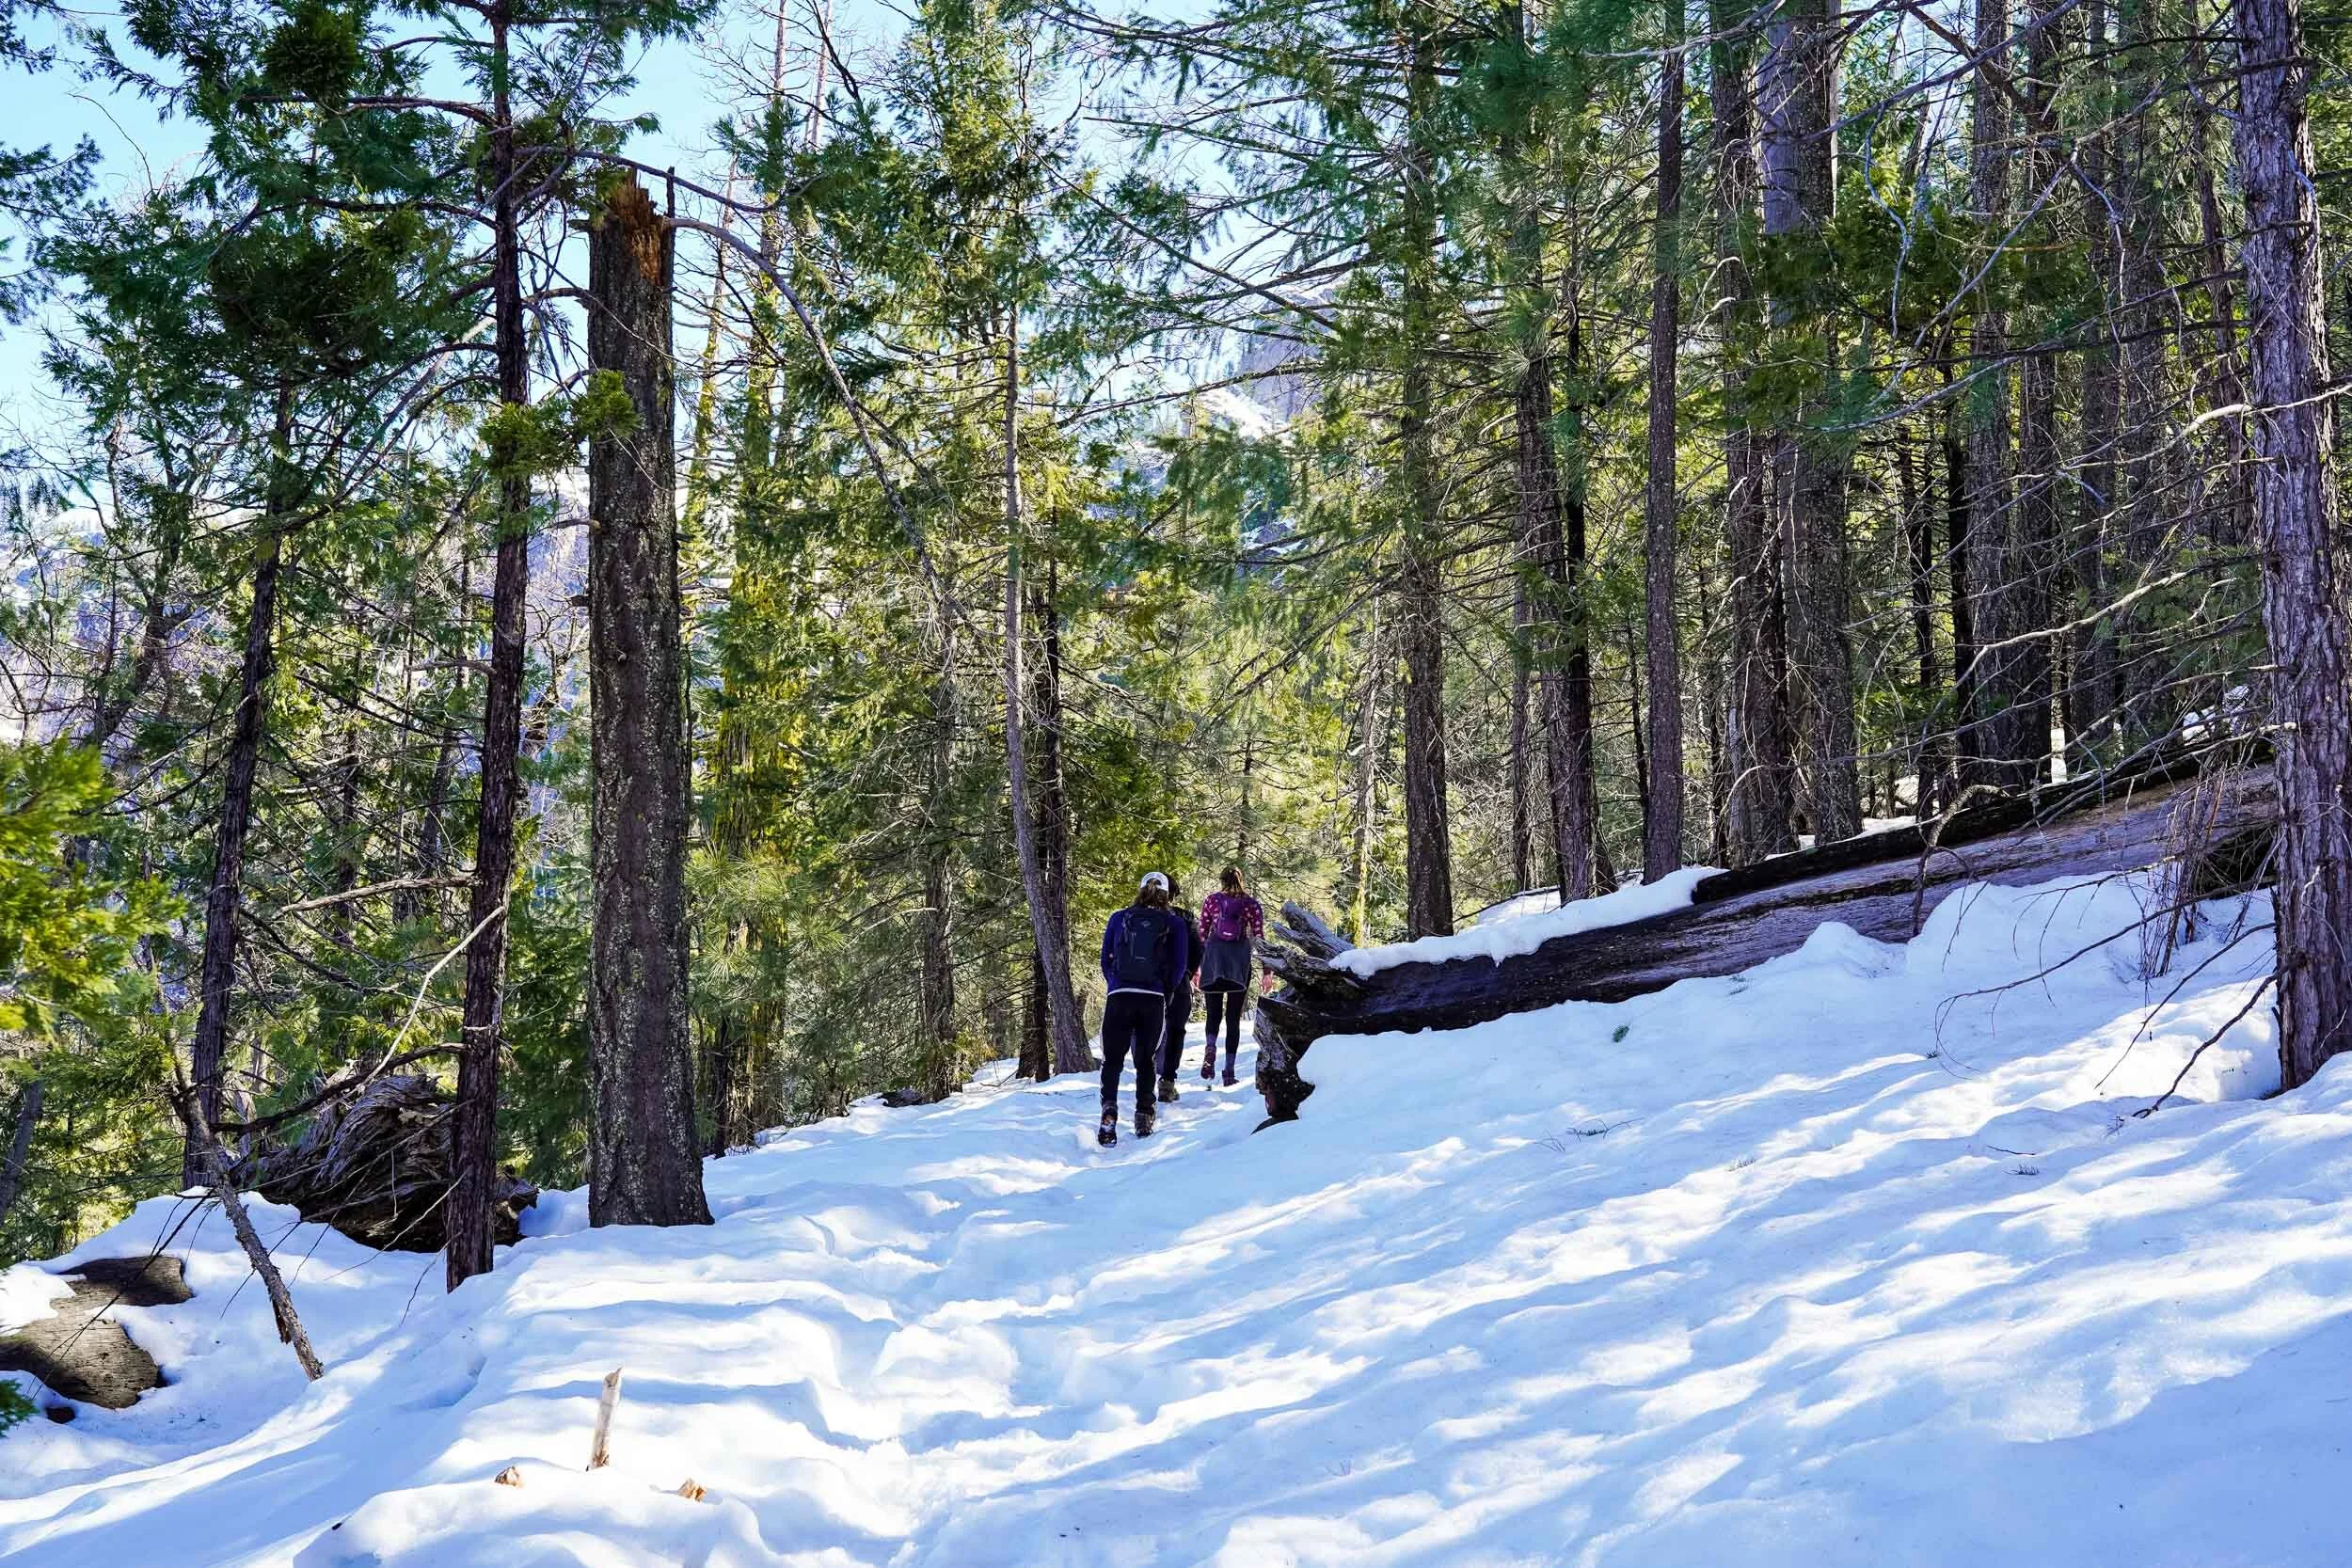
During our visit, we stopped at the Upper Yosemite Falls viewpoint (0.5 miles past Columbia Rock), just before the switchbacks up the mountain to the top of the falls begin. Despite there being virtually no snow at the bottom of the trail, as we climbed higher there were occasionally banks of snow that we had to cross on narrow paths (you can see exactly what I mean in the video).
These could potentially be dangerous if you didn’t watch your step and happened to slip. So I’m not sure how it would have been at the top of the falls, but I think we could have definitely made it there if we had started the hike earlier.
I definitely want to come back and do the full hike to the top of the falls someday!
Read more details about the Upper Yosemite Falls trail on the Yosemite NPS site.

Mirror Lake Trail
Distance: 2 miles round trip to the lake, 5 miles loop around the lake
Time: 1 hour round trip to the lake, 2-3 hours for the full loop around the lake
Mirror Lake trail is an easy to moderate trail with not really any elevation change. This trail is open year-round and offers beautiful views of the lake and river, making it one of the perfect things to do in Yosemite in winter.
Just be aware, despite the flat path the trail can be icy and snowy in winter, especially along the south side of Tenaya Creek. Even during our visit when most of the lower Yosemite Valley had melting snow, the trail to Mirror Lake was still covered in snow and ice because of the shade from the mountain and trees. Just take it slow and enjoy the views and it won’t be an issue. If you wanted to though, I’m sure hiking poles would help you feel more stable, which could be nice especially if you’re going to do the full loop around the lake.
It’s called Mirror Lake for a reason
We did this trail on our last day in Yosemite and it was the perfect “end” hike to our trip. We only hiked the 2 miles roundtrip to the lake, and the easy, flat trail was ideal for our sore legs and bodies after a long weekend of hiking. Snow covered much of the landscape on the hike and made for a stunning winter wonderland. And if the scenery wasn’t enough, the payoff of the lake itself makes this hike definitely worth doing.
Mirror Lake gets its name because its glassy surface is like that of a, well, mirror. But we were still shocked by how reflective it was! Look at the picture above to see for yourself. It is recommended to go in the morning to get the full effect of the mirror-like surface, before the sun rises overhead. We went before lunch and had perfect conditions.
Read more details about the Mirror Lake trail on the Yosemite NPS site.


See the Firefall at Horsetail Fall!
The reason we took a long weekend trip up to Yosemite National Park was to enjoy the beauty of the park during winter, but our main motivation for the trip was actually to see the “Firefall”, a natural phenomenon that occurs each year during a two week period in February. So if you are still planning your trip to Yosemite in winter, consider going in February to catch this incredible event.
How to see the Firefall in Yosemite
If you haven’t heard of it, the Firefall is actually Horsetail Fall which is perfectly illuminated to glow like fire by the setting sun for about two weeks in February each year. We were lucky enough to see this in person during our trip to Yosemite, and let me tell you, it really does glow like fire!
I actually wrote a detailed guide about how to see the Firefall in Yosemite, including tips and more in-depth descriptions about our experience. So make sure to check that out if you are interested in seeing the Firefall in Yosemite! It has all of the information you need to plan your own trip to see this remarkable natural event.
Read more: How to see the Firefall in Yosemite Guide

Are you planning a trip to Yosemite National Park in winter?
A visit to Yosemite National Park is going to be amazing during any time of year, but there is something especially magical about visiting during winter. Not only are there less crowds than there are during the spring and summer seasons, but it is also immensely beautiful adorned in snow and ice.
I hope that this blog post and video from our winter trip to Yosemite was useful to you in planning your own visit. If you enjoyed the video, please give it a like and make sure to subscribe to our YouTube channel for more adventures. You can also follow us on our Instagram to see what we’re up to. Thanks for stopping by Adventures with Pinny, see you again soon!
Read more about Yosemite National Park
How to see the Firefall in Yosemite Guide
Yosemite National Park Weekend Trip
Pinterest images


