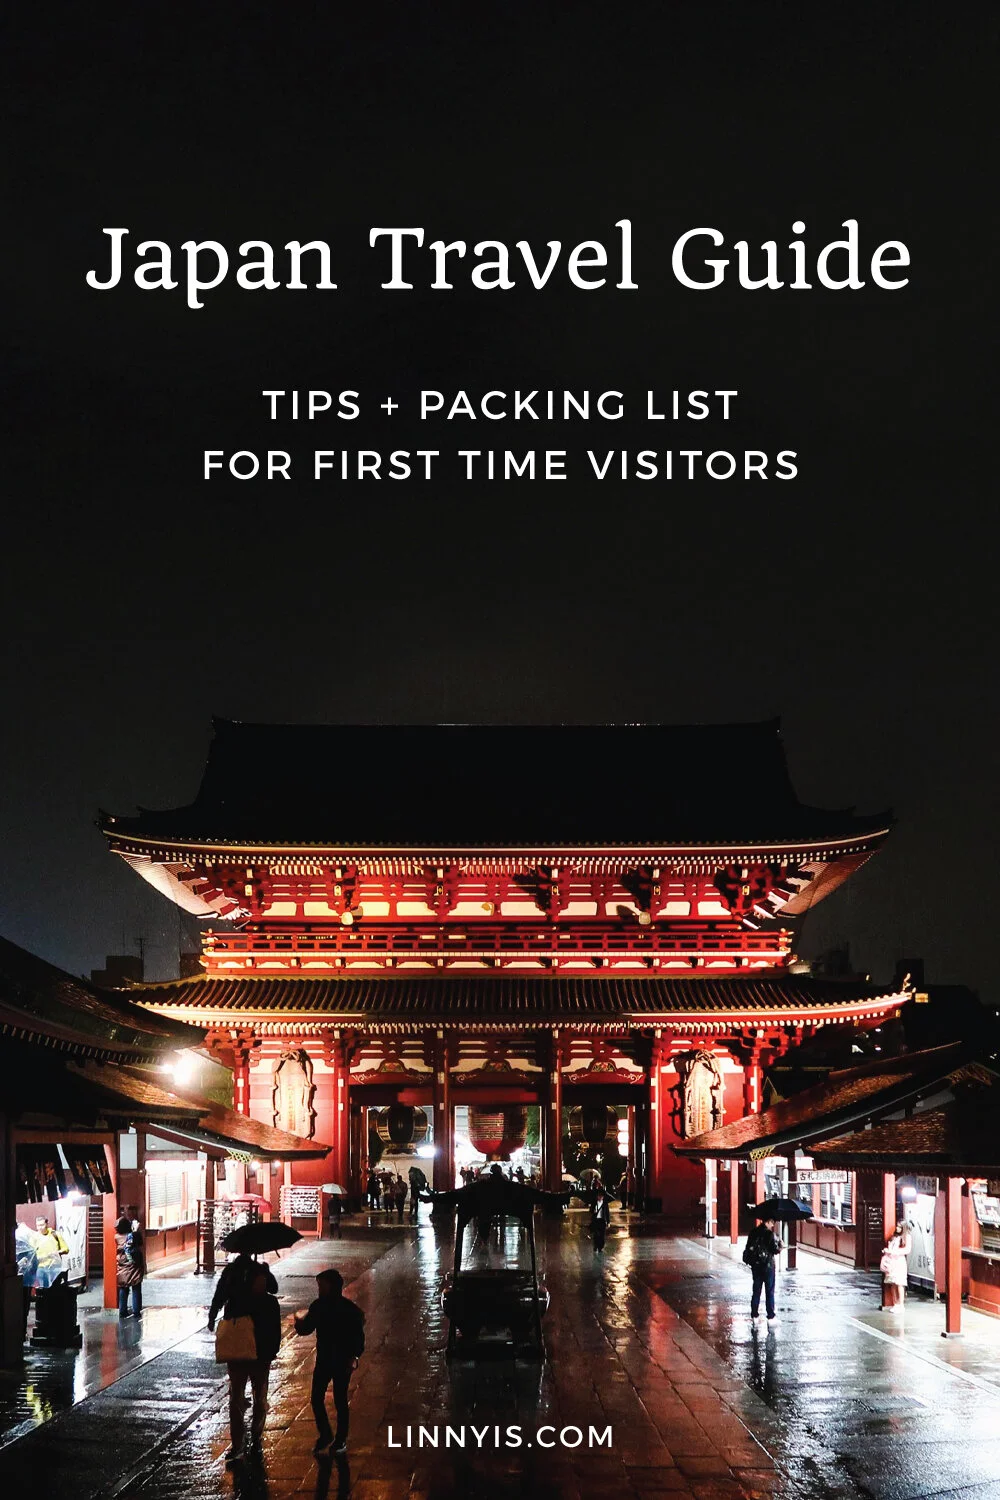
Japan Travel Guide: Tips and Packing List for First Time Visitors
Are you traveling to Japan for the first time? Do you have questions such as how to get around Japan, if you need to know Japanese, or what to pack for your trip? If so, you came to the right place! I created this Japan Travel guide for first-time travelers to Japan after having all of these questions myself before my trip.
I am a type-A planner and worrier, so naturally, I stressed over every article I could find to help prepare myself before my first trip to Japan. But after traveling to Japan and enjoying it immensely, I realized that there really was no reason to have stressed so much!
Japan was a welcoming country with all of the modern conveniences you may be accustomed to and more (I’m looking at you, toilet with heated seats and built-in music player). But without all of the research and planning I had done beforehand, it may not have gone as smoothly.
In this travel guide, I will share with you all of the tips that I found most crucial to my trip to Japan and the things that I learned along the way that will help ensure your trip is just as amazing!
Table of Contents Show
If you’re still planning your trip to Japan and need some ideas on places to go, where to stay, and things to do, also check out: One Week in Japan Itinerary: Kyoto, Tokyo, Nara, Mt. Fuji

Reserve a Pocket Wifi
Why you need one
I cannot stress how important it is for you to get one of these handy pocket wifi reserved for your trip to Japan. It was a life-saver beyond words. Being in a foreign country, neither of us had cell phone service and there wasn’t always available public wifi, especially at some of the more off-beat places we visited. Neither of us is amazing with directions either, so having to plan our routes completely before leaving the safety of wifi and trying not to get lost would have been a nightmare. Not to mention trying to figure out the rail system to get places! This way we had Google Maps everywhere we went at our finger trips, telling us where to turn among the sea of confusing street signs in Japanese, and exactly which trains to get on, when and where. Thank you, Pocket Wifi. Thank you. Just make sure to charge it every night, even if it says it has a full battery… Ours didn’t seem to display the correct charge and died on us on our way to visit Mt. Fuji. Luckily we remembered how to get back since it was the same way that we came!
Where to get a pocket wifi + cost
For our trip, I got the “premium” wifi from Global Advanced Communications and it cost about $100 to rent for the entire trip, but it is well worth the money. There are many other companies that offer rental pocket wifi in Japan, so do your research and go with whatever option works best for your needs. After doing my research I settled on this company because of its good reviews, price, and the convenience of picking it up upon my arrival at the Narita Airport.
Picking it up in Japan
When you reserve your pocket wifi online you’ll be able to specify which airport you’re flying into and which terminal, and they’ll give you all of the details on where to pick up your rental. Mine was waiting for me at the Post Office on the 4th floor of terminal 1, which was easy to find. I was handed a package, inside of which was my pocket wifi (which was charged) along with clear and detailed instructions on how to set it up and later return it, including an envelope to seal it in and return to this same Post Office upon my departure. Set up took about 5 – 10 minutes and was quite simple thanks to the clear instructions.

Buy a Japan Rail Pass
Why you need one + cost
If you’ve done any research for your trip to Japan, you’ve probably already read that you should buy a Japan Rail Pass. Costing $259 (at the time of this post on JR Pass) it may seem expensive but it easily paid for itself and more during the length of my one week trip. You will be constantly hopping rails to navigate Japan and its cities and they are extremely convenient and fast. Especially if you’re taking trips on the Shinkansen (bullet train) around Japan it will definitely make up for its cost.
Where to get a Japan Rail Pass
There are multiple websites where the Rail Pass can be purchased, but I bought mine through JR Pass. This must be purchased ahead of time before you reach Japan. You’ll receive a voucher in the mail, not the actual Rail Pass, with instructions on how and where to redeem the pass once you reach Japan. There are offices where you can exchange your voucher for the actual Rail Pass in all of the airports and at multiple locations in the major cities. I exchanged mine at the Narita Station connected to Narita airport. There was a line when I arrived, but it moved quickly and the process was quite simple.
Helpful Links About the Japan Rail Pass
JR Pass (where I bought my rail pass)
Japan Rail Pass website
Where to exchange your Rail Pass in Japan

Getting Around Japan
Google Maps will be Your Best Friend
Along with your pocket wifi, Google Maps will be your best friend in Japan, or at least it was for us. Google Maps was the only thing we really needed to get around Japan and it was extremely accurate. Not only were the maps invaluable, but also the directions to use the rail system within Google Maps. After plugging in your destination and clicking the Transit icon as your form of transportation, Google Maps will tell you the route options, how long they will take, along with the names of the train lines and the cost of the ride! You can even change when you would like to depart to help you plan your day’s travels.

See the example: Shinjuku station to Tokyo station
JR East
You can also download the JR East app for your phone to view train schedules, delays, and maps, but I personally found myself only needing to use Google Maps to plan my travels. Keep in mind: when using Google Maps, try to take the lines labeled JR whenever possible so that you can use your Japan Rail Pass and you won’t have to pay more for the ride. However, there are times you might not be able to use your JR Pass like in the above example, as Tokyo is mostly covered by the Tokyo Metro rather than JR lines.

Understanding the Rail System Maps
Looking at the tangled web of colors and lines of a rail system map may make it seem intimidating, but you will quickly get the hang of it and be a Japan rail system pro in no time. Each of the rail lines is clearly labeled with a different color, and these colors remain consistent across all stations and mediums within the system (even on Google Maps). After plugging in your trip to Google Maps, you will see the name and what color route you are looking for and can immediately disregard 90% of the confusion of the map. Then you can focus on that one line to locate the name of the station of your end destination (which Google will tell you), see how many stops there are in between if you’re like me and count them whilst on the train so you don’t miss your stop, and take note of the name of the first following station on your trip to help you find your platform at the rail station.
Navigating the Rail Stations
All you need to do is use Google Maps to plan your route, go to the start point station, and find the rail you need to ride by following the rail’s name and color which will be clearly labeled at the station. Look for overhead signs as well as wall signs using the rail line’s name in both Japanese and English as well as the line’s color. When you look at the rail map or Google route, take note of the next station on your route, which may not be your end destination. This will come in handy at the station platform.

Credit: TokyoForm
At the platform, there will be two sides: one going in one direction and one going the other. Each side will be marked with an arrow of which direction the rail will be going (like in the picture above), with the name of the previous and next stations. Knowing the name of the next station on your trip, you will know which side to go on! I am probably making this more complicated than it is, but if you’re directionally challenged like me than this is a good tip to keep in mind.
Other Links:

Bring Cash! (Japanese Yen)
You need cash in Japan
While researching for this trip I read many times that Japan is a “cash culture” and I found this to be true. You will especially need cash (namely the coins for ¥50, ¥100, and ¥500) for the rails and public transport. Even with your JR Pass, there are lines that don’t operate under JR (such as the Tokyo Metro system throughout Tokyo) and any buses you might take will require cash. There were also a number of restaurants that were cash-only, and sometimes it was just easier to use cash to pay for our meals as splitting the bill with credit cards often didn’t really seem like an option due to the language barrier. I was able to use my credit card at most shops and restaurants, but we did spend most of our time in major cities. This might not have been the case if we had traveled to smaller cities within Japan. If you plan to use your card just make sure to notify your bank ahead of time of your travel plans so that your card doesn’t get blocked during your trip! Speaking from experience here, trust me.
How much money to bring to Japan
For the one week trip, I brought $300 USD worth of yen and I used ALL of it. I could have easily brought more. How much money you bring to Japan is ultimately up to you and your plans for the trip. If you are planning to travel outside of the major cities I would definitely recommend bringing more. Worst case scenario you overestimate how much Yen to bring and have excess cash at the end of your trip, then you can simply exchange it back to USD (or your country’s currency) when you return home. Or if you are in Japan and find yourself in need of more cash, there are ATMs in every 7/11 that work with most major banks and there are 7/11 shops at nearly every street corner.
Where to exchange money
My recommendation is to exchange the money at your bank before your trip. If you wait to exchange currency at the airport, the fees will be much higher. Make sure to request the exchange at your bank at least two weeks before your trip, as the bank may not have the currency available at their location and will need time to have it shipped. In my experience, it hasn’t taken longer than a week to arrive. Keep in mind that all yen up to ¥500 (about the equivalent of $5 USD) is in the form of coins, so you will accumulate a lot of coins during your trip.
Outlets + Voltage in Japan
Outlet Adapters
Luckily Japan uses Type A outlets, so you won’t need to pack any outlet adapters if you’re from North America, which also uses Type A outlets. But don’t try this with heating tools or a hair dryer, as the voltage is different (100V vs 120V). If you’re not from a country that uses Type A outlets, don’t forget to bring an adapter. Check what kind of plugs you have and purchase the proper Type _ > Type A converter. You can get these for pretty cheap on Amazon.
Voltage Converters
Most technology chargers such as for your phone and camera come with a voltage converter built in. Make sure to check any devices you will be plugging in during your travels around Japan, and if something doesn’t you will also have to purchase a step up or step down converter. The last thing you want to do is fry something!
Helpful Links:
World plug & socket types
Electricity in Japan
Universal Travel Adapter to Type A (3 for $10)
Do you need to know Japanese
The short answer: No
No, you do not need to know Japanese to travel to Japan! That was admittedly one of my concerns traveling to a country where English would not be the primary language for the first time. But I had nothing to worry about. Japan has English everywhere: on most signs, many restaurants offer English menus, and many Japanese people are proficient English speakers. However, you can’t expect everyone to speak English and we certainly encountered those who didn’t seem to know any English or weren’t in the mood to give it a go. In these cases, we got by just fine with body language. Whether it was pointing to a menu item, nodding yes or no, or (in one case when we were first trying to figure out the rail system and a kind attendant tried to help us) gesturing between our hotel address and the rail system map with confusion, you are likely to get the point across. Everyone that we communicated with during our trip to Japan was kind, patient, and welcoming and we were very grateful. And if all else fails, you have your pocket wifi and phone to help you through any situation. Yay for modern technology!
But it doesn’t hurt to try
Like every country that I have visited thus far, learning the local language was not required in Japan, but the people we met appreciated it when we made an effort. Basic phrases such as Hello, Goodbye, Thank You, Please, and Excuse Me were easy to learn before our trip. Using these basic phrases whenever possible, even if we may not have been pronouncing them correctly, was greeted with welcome and encouragement.
Helpful Links:
Top 25 Japanese Phrases by JapanesePod101 (video to learn some basic phrases)
Tofugu Learn Japanese (comprehensive beginner’s guide to learning Japanese)
Duolingo Japanese (awesome app to practice with)
Etiquette in Japan
Manners are a very important part of Japanese culture, so it’s good to familiarize yourself with the basics before your trip to Japan. But don’t be intimidated! If you simply act respectfully and courteously throughout your trip then you will do just fine. Here are the etiquette tips for Japan that I personally encountered the most on my own trip. And there are more tips that would come in handy for different style trips to Japan – like if you enter anyone’s home (something Erica and I didn’t do as we stayed at hotels) make sure to take your shoes off!
Bowing
This is probably the most well-known custom. You can expect to exchange bows as greetings, thanks, and apologies. The deeper the bow, the more respect that it shows. Most of the bows that were exchanged with us day to day were a partial, sort of nod-bow, 10-degree bow (if that makes any sense). This was more accessible than the 90-degree bows one might think of, much like giving “the nod” in America to those you meet. After a short time in Japan you will pick up this habit quickly, and if you’re anything like me, you will find yourself doing the nod-bow to everyone you meet for a good week after returning home.
No Tipping
Japan is a no-tipping culture. This often felt strange to me as a United States citizen used to doling out the 20% tip. But tipping would only be met with confusion here. On the plus side, things somehow feel “cheaper” than at home when the bill you receive is really the final amount that you will pay.
Passing Money
When paying at any stores, restaurants, and hotels in Japan, the cashier will pass a small dish to you to place your money in and will take the money from there. They will then place any change in the same dish and pass it back to you. Money is not transferred directly by hand. The same often goes for credit cards (but occasionally I found that these were passed by hand which I will talk about below).

Use two hands to Give/Recieve
Unlike passing cash, sometimes when passing my credit card the cashier would return it to me with two hands, and I would receive it with two hands. Giving and receiving items with both hands like this is a show of respect. This two-handed exchange should also be used when giving and receiving gifts or cards such as business cards. When in doubt, use both hands because it’s better to be over-respectful than under, right?
Orderly Lines
Along with Japan’s culture of manners and politeness, comes orderly lines. At shops, waiting to get onto the rail, or lining up to enter a temple. Even on the street, there were clear “lanes” of foot traffic going one way and another. At the rail station or anywhere with escalators – everyone that was standing would move onto one side of the escalator leaving the other side completely clear for those that wanted to walk up/down the escalator. This seemingly simple thing was incredible to me. While you’re in Japan, be polite and wait in line, or if you’re unsure, follow what everyone else is doing.
Learn more about Japanese etiquette:
Lonely Plant Japan Etiquette tips for First-Time Travellers
Japanese Etiquette 101
Safety in Japan
Japan is a safe country
Japan is often ranked as one of the safest countries in the world and I definitely felt this during our trip. Erica and I walked alone at night around both Tokyo and Kyoto and never felt unsafe. Not that I am suggesting anyone go traipsing around looking for trouble, but there is something to be said about being able to explore unhindered by feelings of fear especially as a woman.
But some say that the biggest danger to foreigners in Japan is actually its feeling of safety (such as Tofugu and Lonely Planet). This can cause some visitors to grow lax on their safety precautions. So basically, just continue to use common sense as you would at home and you should be just fine.

Get travel medical insurance, just in case
As seasoned travelers, we know how important it is to have reliable health insurance on our trips for peace of mind. Even in “safe” countries like Japan, things can go wrong – whether it’s an unexpected illness or a travel disruption. We personally use and recommend SafetyWing (and now we’re lucky enough to be a SafetyWing Ambassador, which means we will earn a small affiliate commission if you choose to purchase coverage through one of our links).
SafetyWing offers two coverage options: Essential and Complete.
The Essential Plan is ideal for short-term trips, like a vacation to Japan. It covers emergency medical care up to $250,000, along with travel interruptions and lost luggage. Optional add-ons include adventure sports coverage and protection against electronics theft (a must for us with all our camera gear!). Pricing starts at just $2/day, depending on the country/countries you are visiting and what add-ons you select – there’s a nifty pricing calculator on their website you can use to get an estimate for your trip.
If you happen to be a digital nomad, expat, or long-term traveler, the Complete Plan might be a better fit for you. It includes routine check-ups, mental health support, maternity care, trip protection, and up to $1.5 million in emergency medical coverage – available in over 170 countries, including your home country.
Check out SafetyWing and get covered: SafetyWing Nomad Insurance
What to Pack for a Trip to Japan
Pack for a variety of weather conditions
I quickly learned during this trip that I did not pack appropriately. That is to say, I didn’t pack for every season. In an attempt to pack lightly and leave more room for souvenirs, I only packed clothes for warmer weather since that was the forecast for our week in Japan. I’m sure it also depends on what time of year you visit, but we really did experience vasty varying weather conditions.
Part of our trip was intensely hot, sunny, and humid, leaving us sweaty messes, and the other part was rainy and freezing cold. After reading others’ travel experiences in Japan online, this seems to be a common scenario. The weather in Japan is notoriously unpredictable. So bring a variety of layers, both warm and cool weather clothing, and shoes you feel comfortable walking around in. Because you’ll be doing a lot of walking! Preferably with some sort of water protection – after a day of walking around in the pouring rain my tennis shoes were sopping wet and still were wet the next morning when I had to put them back on… Not ideal.
Here is a quick packing list of things to bring for your trip to Japan. The clothing will vary depending on the time of year you visit, but as I mentioned the weather there can be pretty unpredictable.

Clothing to pack:
Comfortable walking shoes (preferably water resistant)
Thick socks (avoid blisters from walking all day)
Pants
Shorts/Skirts
Leggings/tights (layers for skirts!)
Shirts that can go with other layers
Cardigans (layers!)
Raincoat
Rain poncho (alternatively, and you can tuck it into your bag)
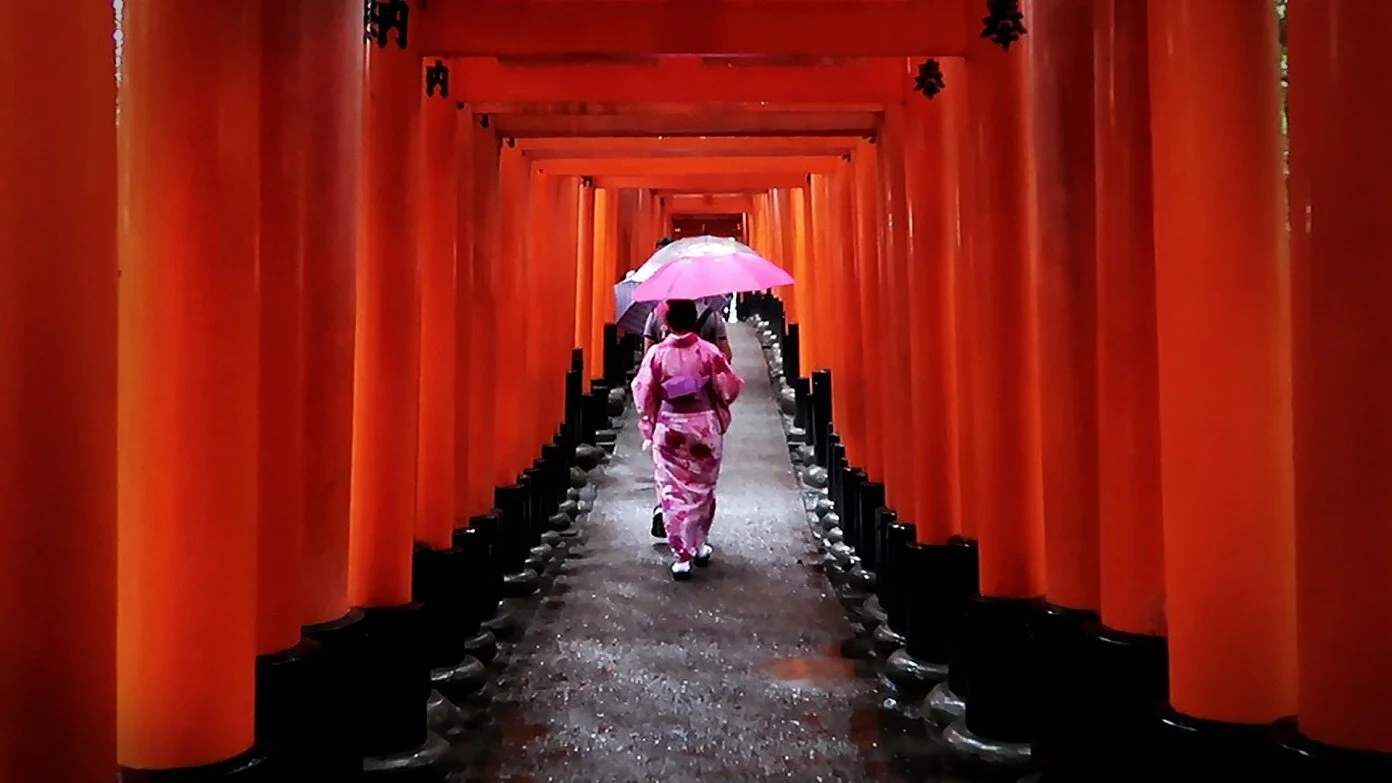
Colors that compliment red (to look good for pictures with the many red temples and shrines)
Things to pack:
Passport
JR Pass voucher (don’t forget!)
Japanese Yen
Coin pouch/Wallet with coin pocket (you will accumulate many coins in Japan)
A debit card you can use at ATMs
Phone + charger
Camera + charger
Big memory card (you will take a ton of pictures!)
Umbrella (I ended up buying one in Japan)
Printed Receipts/Travel Details (I like to bring for hotels, travel medical insurance, pocket wifi, etc)
External battery (keep your phone + pocket wifi charged so you aren’t stranded!)
Outlet adapter (only if you’re not from North America. Read more under Outlets)
Bag/Backpack (that can fit your essentials + JR Pass, Pocket Wifi, external battery, rain poncho/umbrella and is comfortable to wear all day)
Leave space for souvenirs
Despite the need for a variety of clothing, do leave room for souvenirs too. Japan has a lot to offer from interesting foods and candy to beautiful ceramics and stationery goods, cute clothing and accessories, more traditional souvenirs, and so much more. Despite my initial light packing, my backpack was bursting at the seams and heavy to carry by the time I returned home. And I do love my new set of ramen bowls, cups, saucers, chopsticks, my new purse… you get the point.

Don’t Stress, Be Respectful, and Enjoy Japan!
This Japan Travel Guide listed all of the top tips that I learned from my first trip to Japan, but above all its important to step back and enjoy your trip. Don’t stress about memorizing the tips from this guide, if you forget anything it won’t be the end of the world. Just be respectful to Japan and its culture and the country will welcome you with open arms. Everyone we met was so patient and kind, and was happy to try to help us whenever we needed it!
Plan your trip to Japan: One Week in Japan Itinerary: Kyoto, Tokyo, Nara, Mt. Fuji

Read more: A Day in Nara: Visiting Japan’s Amazing Deer Park!
If you found this travel guide useful, pin it using the Pinterest image below to refer back to as you plan your trip to Japan. Share it with your Japan travel buddy using the share icons! And if you want more travel tips and guides, make sure to follow us on Instagram to stay up to date with our adventures. Thank you for stopping by our blog!
Have you ever been to Japan? Do you have any travel tips that you’d like to add to this guide? Please share them in the comments below to help out our fellow travelers!
Pinterest image